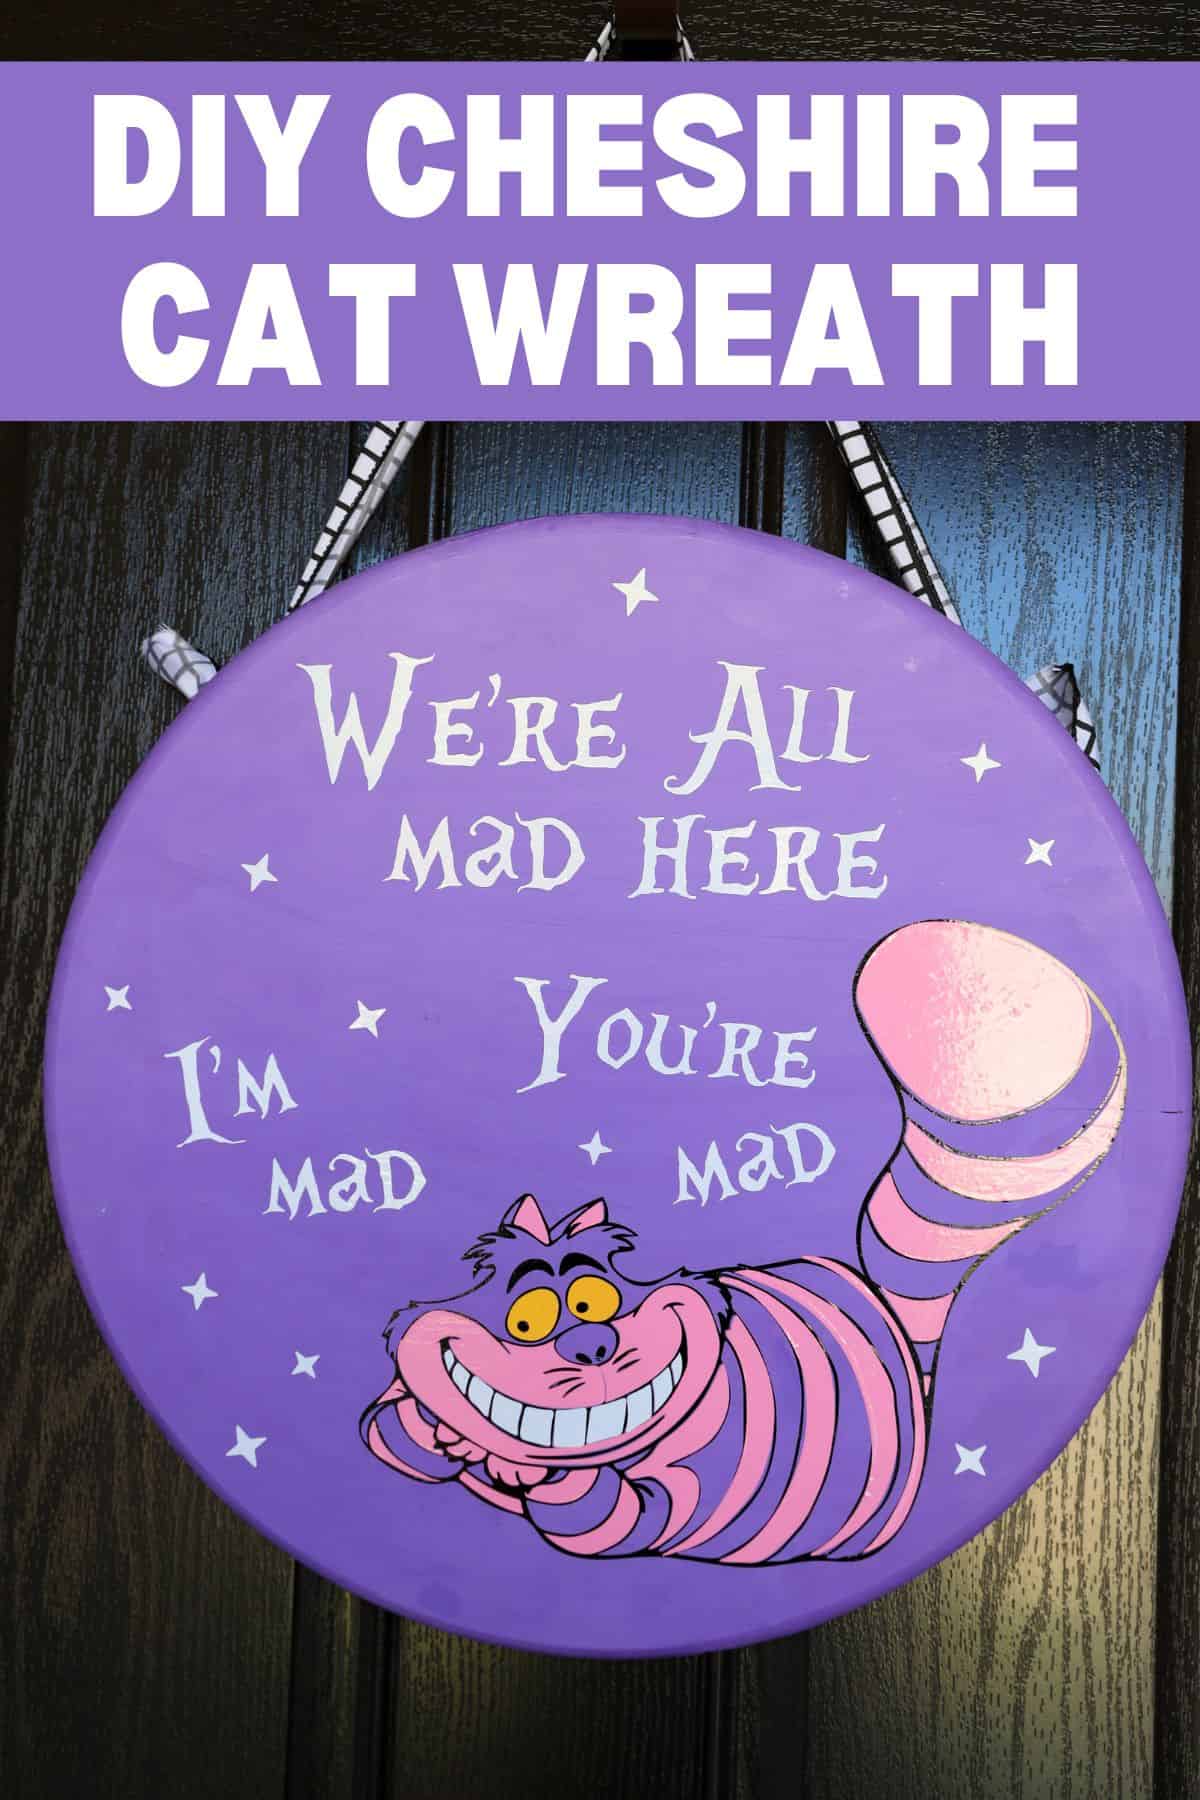
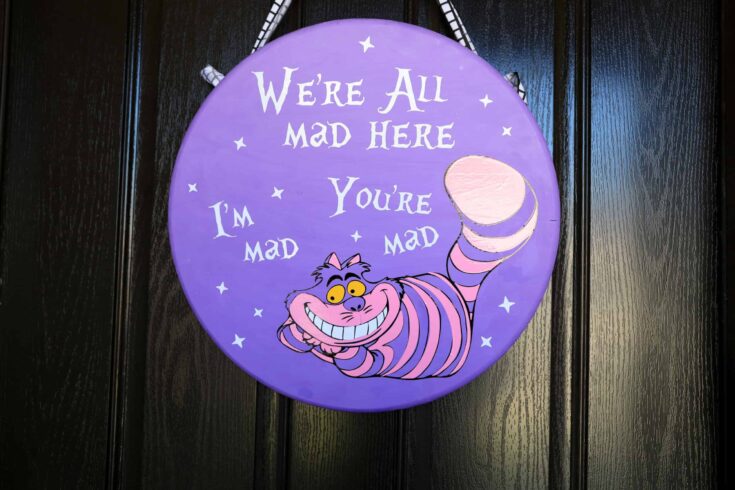
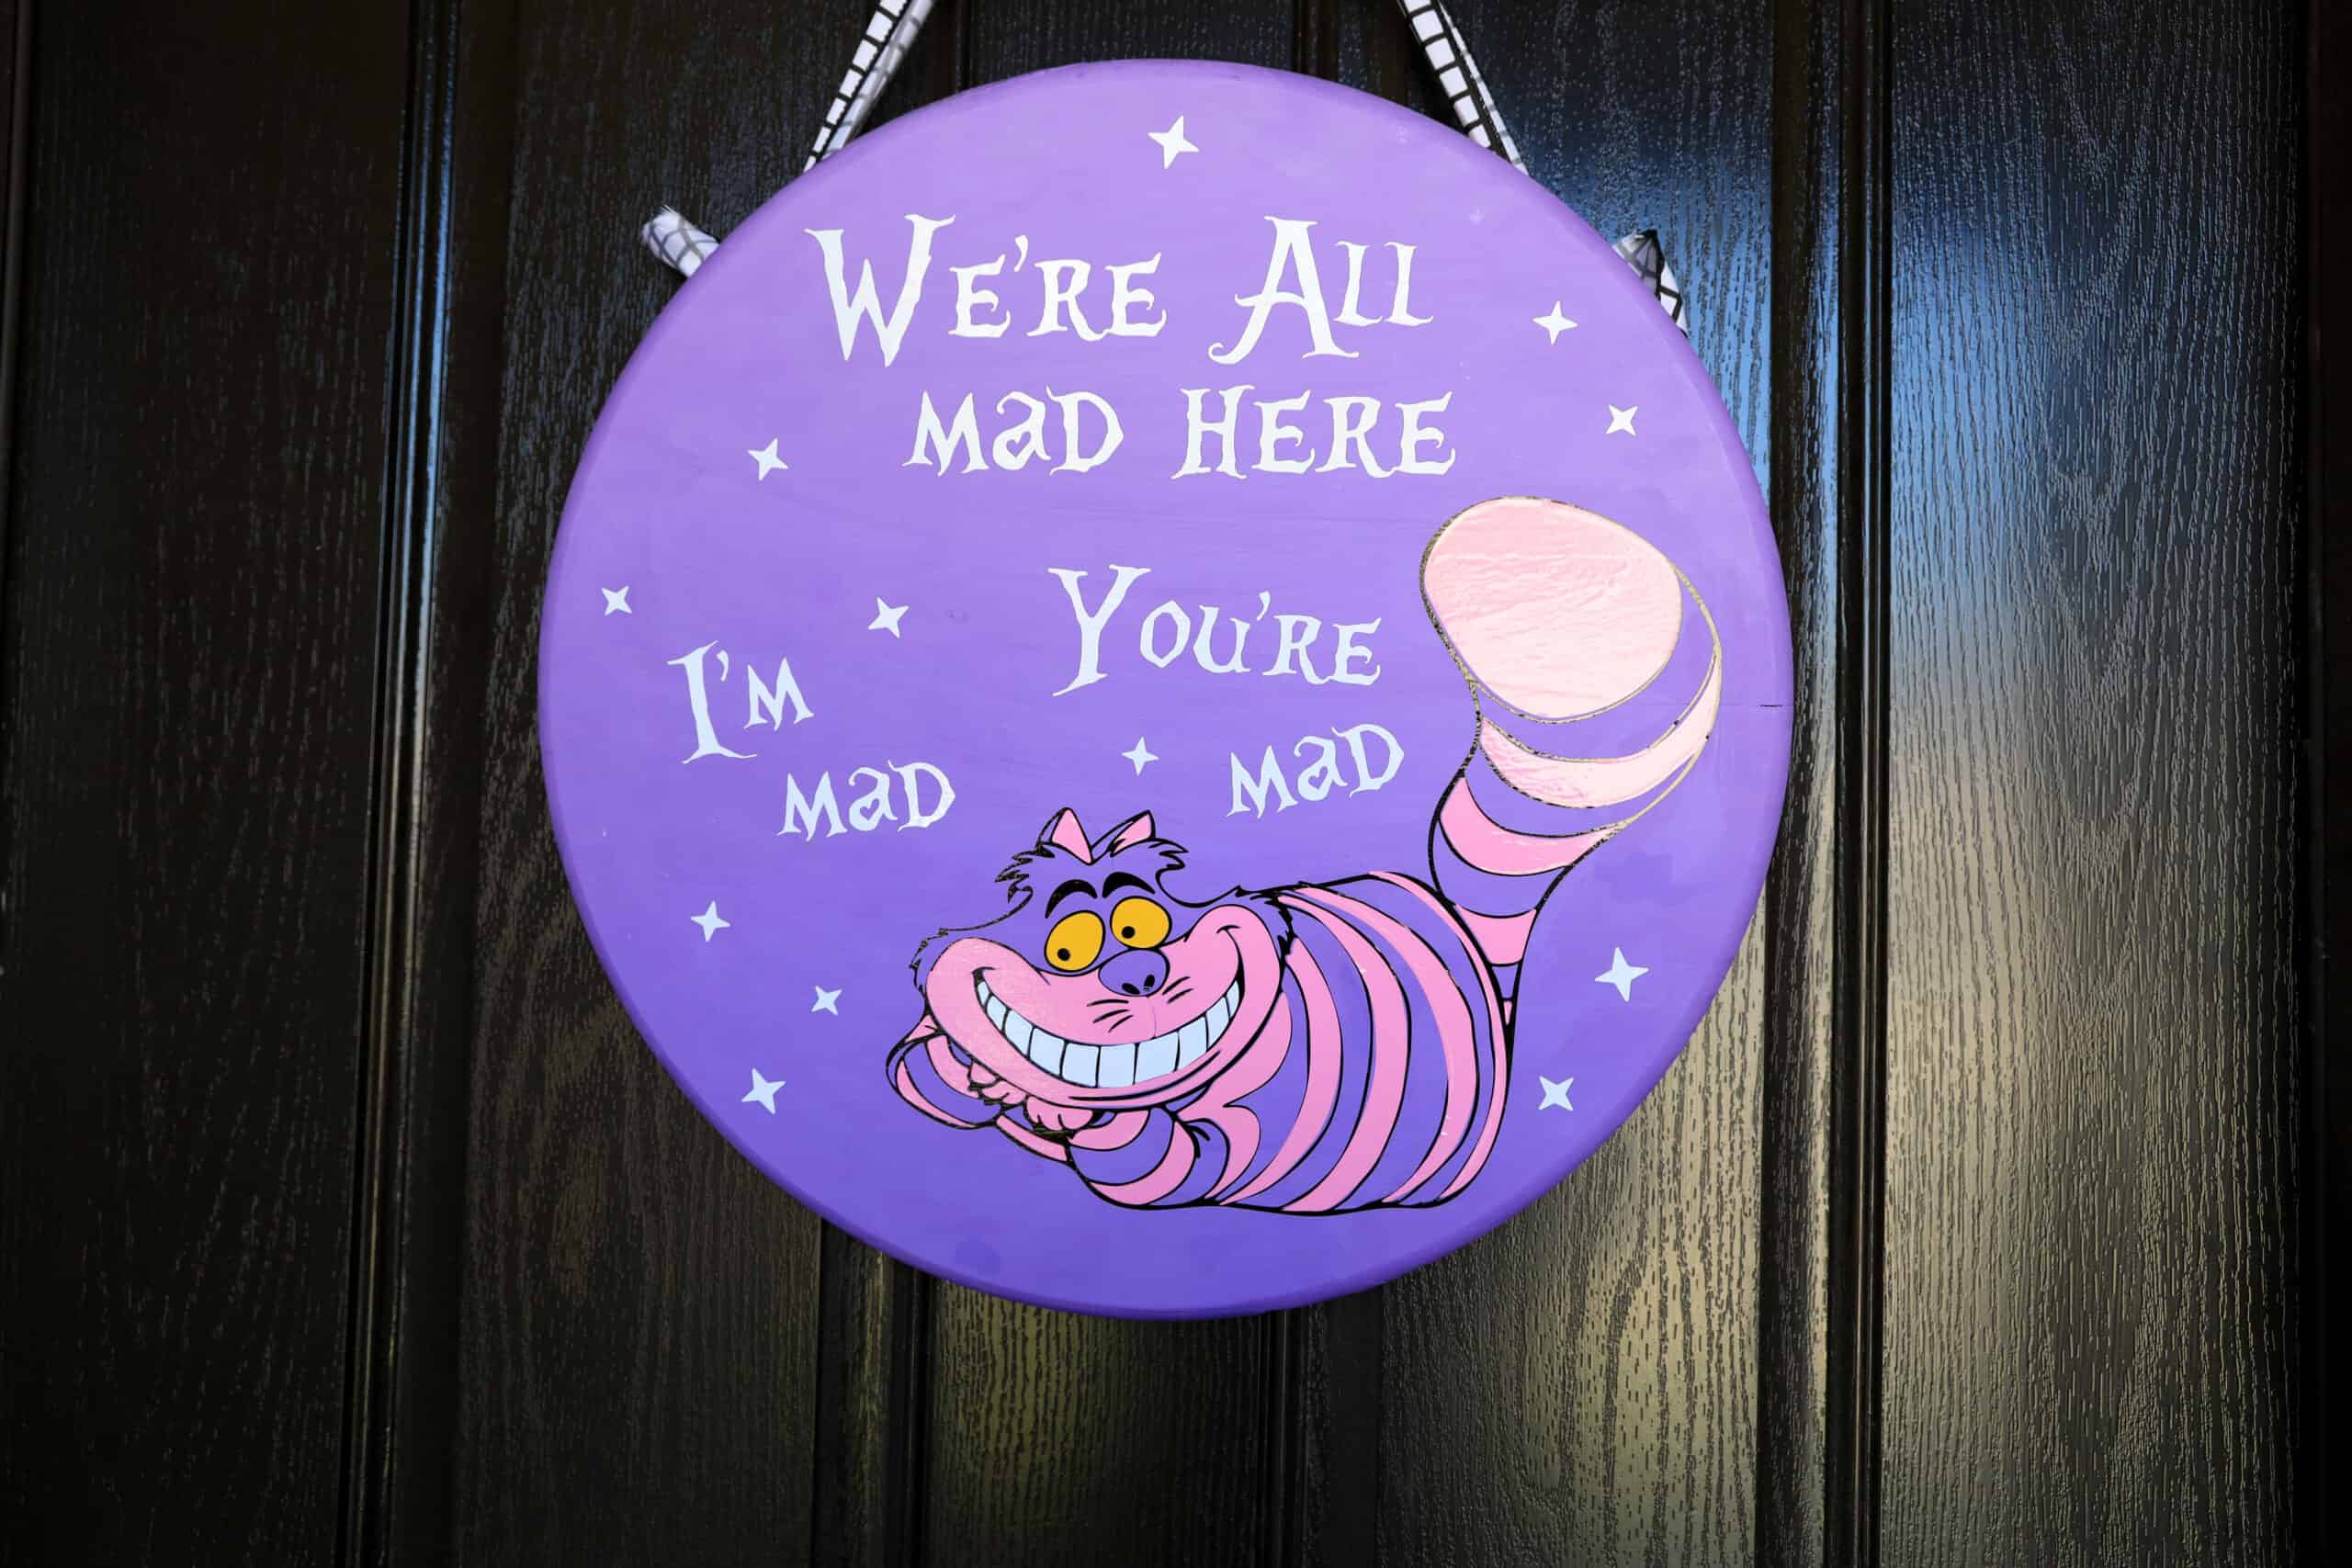
This DIY Cheshire Cat wreath is a fun way to decorate your home and is a perfect decoration or gift for a Alice in Wonderland fan!
You can use your Cricut and these free design files to put together this adorable craft project with just a few minutes of work.

So what are you waiting for? Let’s add your own piece of Wonderland to any room of your home with this fun art project today!
What Do I Need to Make a DIY Cheshire Cat Wreath?
You can make this cute home decoration with just a handful of craft supplies and a free download! It’s a simple Cricut craft that’s perfect for beginners!
To make your own DIY wreath, you’ll need:
Round board
The base of your wreath sign is a 12 inch round board, which you’ll decorate using paint and vinyl to add your own Cheshire Cat twist.
Paint
Turn the plain board into a cute Alice in Wonderland sign with the help of some lavender paint. Don’t forget to grab a paint brush and drop cloth to protect your work surface!
Vinyl
To easily decorate your Alice in Wonderland wreath, use your Cricut and vinyl. You’ll need pink, yellow, black, and white vinyl, as well as transfer tape to put this simple DIY project together.
Cricut
Once you have all your vinyl colors gathered up, you’ll also need your Cricut and cutting supplies to create the sign design. In addition to the cutting machine, you will also need a cutting mat, weeding tool, scraper tool, and Cricut Design Space.
Digital files
Now that you have all your craft supplies gathered up, all that’s left to do is get all the digital files in order.
To decorate your sign, you’ll need the Cheshire Cat SVG and Alice in Wonderland font download.
How Do I Make a Cheshire Cat Wreath?
Once you have all your supplies ready to go, all that’s left to do is put your craft together! Luckily, it’s simple to make this cute sign with the help of your Cricut. Just follow these steps to make your own Alice in Wonderland craft project.
- Paint the sign. Use the lavender paint to decorate the wooden sign. Add enough coats to evenly cover the wood, making sure to allow the paint to dry completely before you start adding the vinyl decorations.
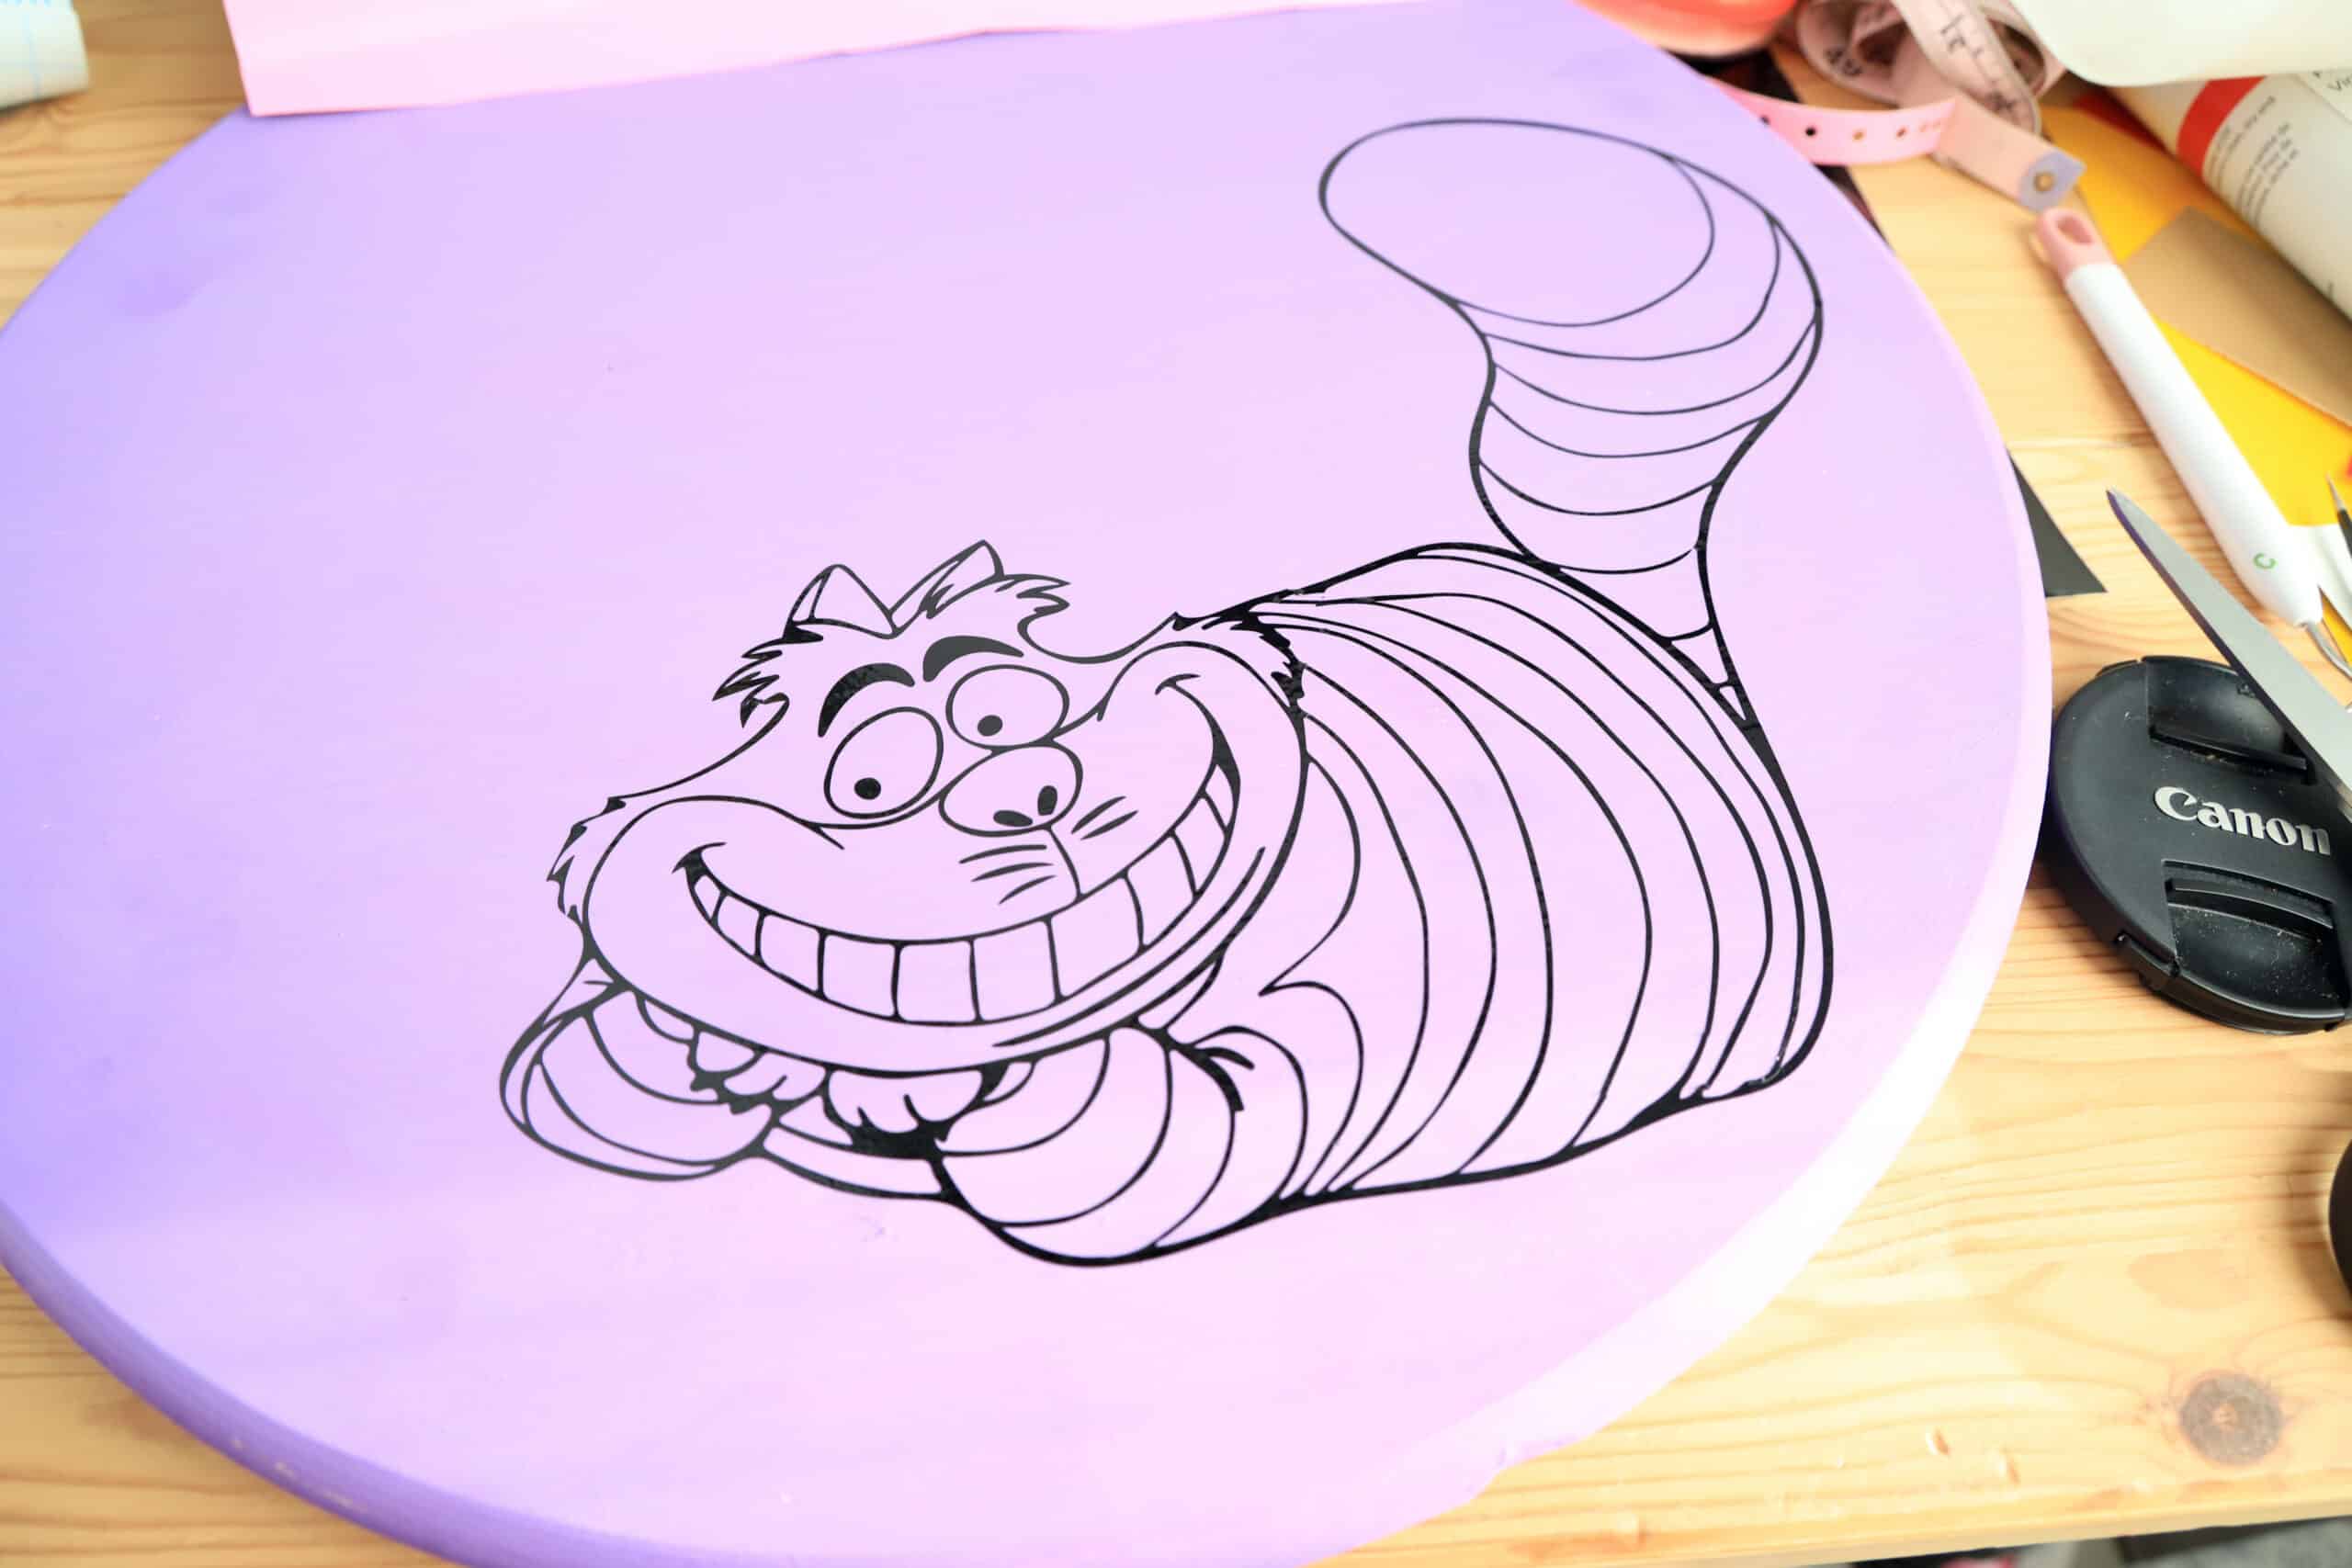
- Cut the Chesire Cat. While the paint is drying on your sign, open up Design Space and start uploading all the elements of the design. First upload the Chesire Cat SVG into the program and cut each element of the cat on the separate colors of vinyl, layering the design as you cut each section.
- Add the text. Add the Alice in Wonderland font to Design Space and type the text “We’re All Mad Here” into the program. Resize and arrange the text to fit on the sign around the Cheshire Cat. Cut the lettering on white vinyl and use the transfer tape to attach it to the sign.
How Do I Layer Different Colors of Vinyl?
Since this fun Alice in Wonderland wreath features a Chesire Cat design made up of different colors, you’ll need to add the cat to your sign in layers. Luckily, it’s easy to create a multi-color design using layers of vinyl.
- Unlock the layers. Before you can cut the design with different colors of vinyl, you’ll need to make sure the layers of your SVG are unlocked. Select all the elements of the design and unlock or ungroup the layers, if needed.
- Resize the design. Before you start separating the layers of the design, check the size of your SVG to ensure it fits on your sign. Measure the area on the sign where you want to place the design to double check the size, then resize the entire design if you need to.
- Turn off the layers. Using the eye symbols along the side of each layer of the design, you can turn on and off each layer to see how the design is composed. As you turn off the layers of the Cheshire Cat design, you’ll see that the black layer is the bottom layer.
- Cut each layer separately. Start by turning off all the layers except the black layer, then load the black vinyl onto the cutting mat. Send the black layer to the Cricut to cut the design, then weed away the excess vinyl. Continue cutting each layer, making sure to match the color on the screen with the vinyl on the cutting mat.
- Layer the vinyl on the sign. Once you have all your vinyl cut out, you can start layering the design. Use a piece of transfer paper to transfer the layers of the design to the sign, starting with the bottom layer and working your way up until all the colors have been added.
Do I Need to Seal Vinyl on a Wood Sign?
Sealing your vinyl after adding it to your sign is a great way to ensure that your sign lasts a long time. But it isn’t always necessary, depending on what type of vinyl you’re using.
Permanent vinyl, like Oracal vinyl, is a great option because there is no need to seal it. It is guaranteed to stay on your sign for up to five years without damage.
But if you’re not using permanent vinyl, try brushing a layer of epoxy or even Mod Podge over the top of the vinyl to seal it and help it stick to the wood for a long time.
How Do I Hang a DIY Wreath Sign?
Once you have your sign made, you’re going to want to display it for everyone to enjoy!
To hang your Alice in Wonderland wreath, you have a few different options:
Ribbon.
If you want to hang your sign with ribbon, you’ll need to add some D rings to the back of the sign. Once the rings are drilled in place, you can thread a piece of ribbon through the sign and hang it.
Hooks.
Another option for hanging your sign is it add a picture hanging hook to the back. Then, you can display the sign on the wall using a nail.
Command stickers.
To prevent damage to your walls, try adding some Command stickers to the back of the sign. After that, you can hang the sign on the wall and remove it without damaging your paint.
Grab the Cheshire Cat SVG & Font Files

Cheshire Cat Wreath
This DIY Cheshire Cat Wood Door Wreath is a fun way to decorate your home and is a perfect decoration or gift for a Alice in Wonderland fan!
Materials
- 12" round board
- lavender matte paint folkart
- paint drop sheet
- 12x12 sheet pink oracal 651
- 12x12 sheet yellow oracal 651
- 12x12 sheet black oracal 651
- 12x12 sheet white oracal 651
- 12x12 sheet transfer tape (clear contact paper works, too!)
- Cheshire Cat SVG
- Alice in Wonderland font (see notes)
- D rings
- Ribbon
Tools
- paint brush
- Cricut machine
- Cricut design space (program)
- green cutting mat
- weeding tool
- scraper tool
Instructions
- Paint the round board with the acrylic lavendar paint. Let dry.
- Upload the svg to cricut design space. On the right when loaded you will be able to turn off and on each color. Cut the black first. Place the vinyl on the green cutting mat. Set the machine to cut on vinyl on the dial. Cut the design the size you would like for the board. Weed the design.
- Next do this for each color such as yellow for the eyes and pink for the stripes. I didn't cut a purple I just used the board as the purple part.
- One you have all of it cut then it's time to apply it. I use clear shelf contact paper or you can use transfer paper. Place it over the black and scrape well. Then slowly pull back making sure the design sticks tothe transfer tape then apply it to the board where you would like it positioned. Peel back slowly making sure the design sticks.
- You will now do the same for each color layering into the areas you want each for the cat. You may need to lift some of the black pieces to go over the top such as the whiskers of the cat or the black dots of the eyes.
- For the writing use the font in the cricut designs space and type the words you would like. Cut them on the white vinyl and green cutting mat. Weed the design. Use transfer tape to remove the design and place onto the board.
- Using oracal you have no need to seal the lettering as it is sign vinyl. It will stay for up to 5 years.
- Place d rings on the back of the board and drill them in. Tie ribbon to the d rings and triple knot it. Hang on hook!
- DIY Oogie Boogie Ornament
- Free Hocus Pocus SVG Starbucks Cup Wrap (Cricut Ideas)
- DIY Star Wars Death Star Craft Nightlight
- 49 Easy & Fun Saturday Night Dinner Ideas for Your Family


